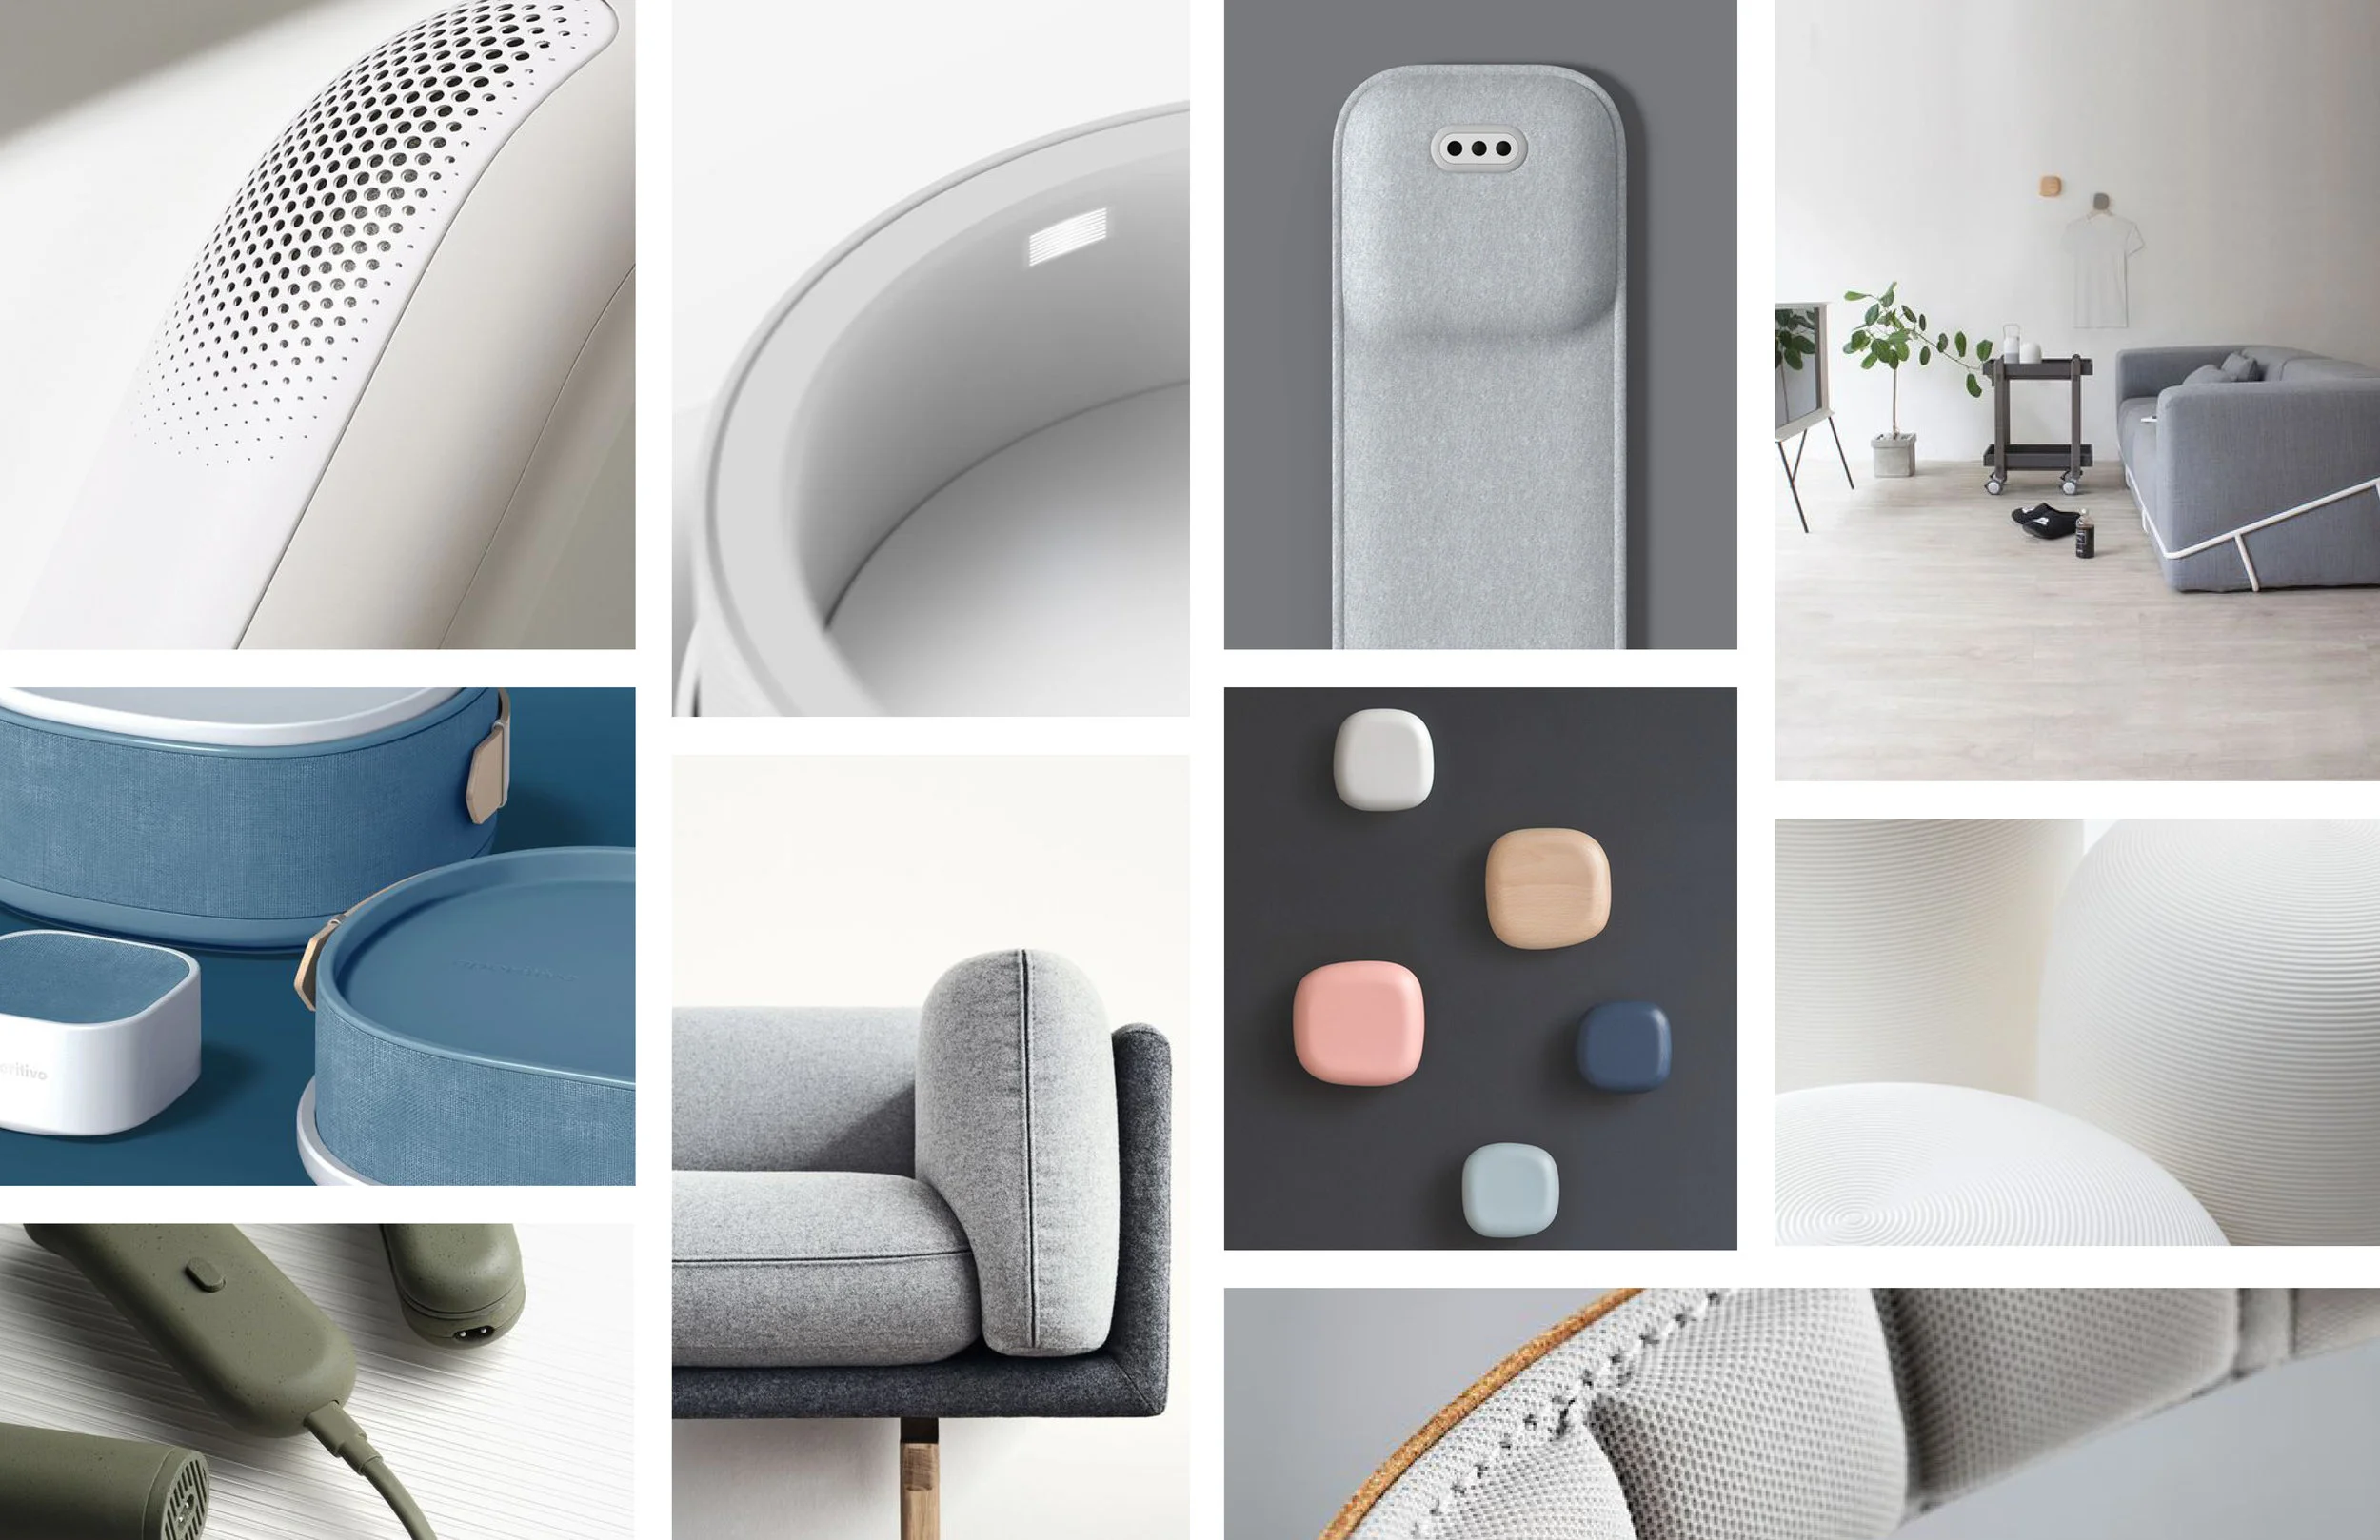
Personal Fundus Camera
medical, but relaxing

How might we give ourselves/others exams by using a smartphone device?

The first phase in this project was to go on an scavenger hunt for different items to help inspire our design directions. As a result of this exercise I found that I wanted to design a personal eye testing device.
After I narrowed down my idea from the scavenger hunt we did a group brainstorming session to help solidify and refine our ideas.

How might we make an eye test relaxing?

With regards to distance vision, 188.5 million people have mild vision impairment, 217 million have moderate to severe vision impairment, and 36 million people are blind.
On average people with an active eye disease will need to get a check up from their doctor at least once every few weeks.
The American Journal of Managed Care estimates that, on average, it takes 121 minutes each time a person seeks medical care. The total includes 37 minutes of travel time, as well as 87 minutes at the doctor’s office or clinic.
Doctors will perform Fundus imaging on patients when in need of a retina check up. The technology is there for these tests to be done on a smartphone with an attached lens. Currently these device exists, but they are designed in a way that that the doctor is the main user. If a patient were able to use one in the comfort of their own home it would enhance their overall experience by reducing the steps it takes to seek medical care.
This drove my decision to focus on designing a device the user can administrate on themselves on their own time, and in their own space.
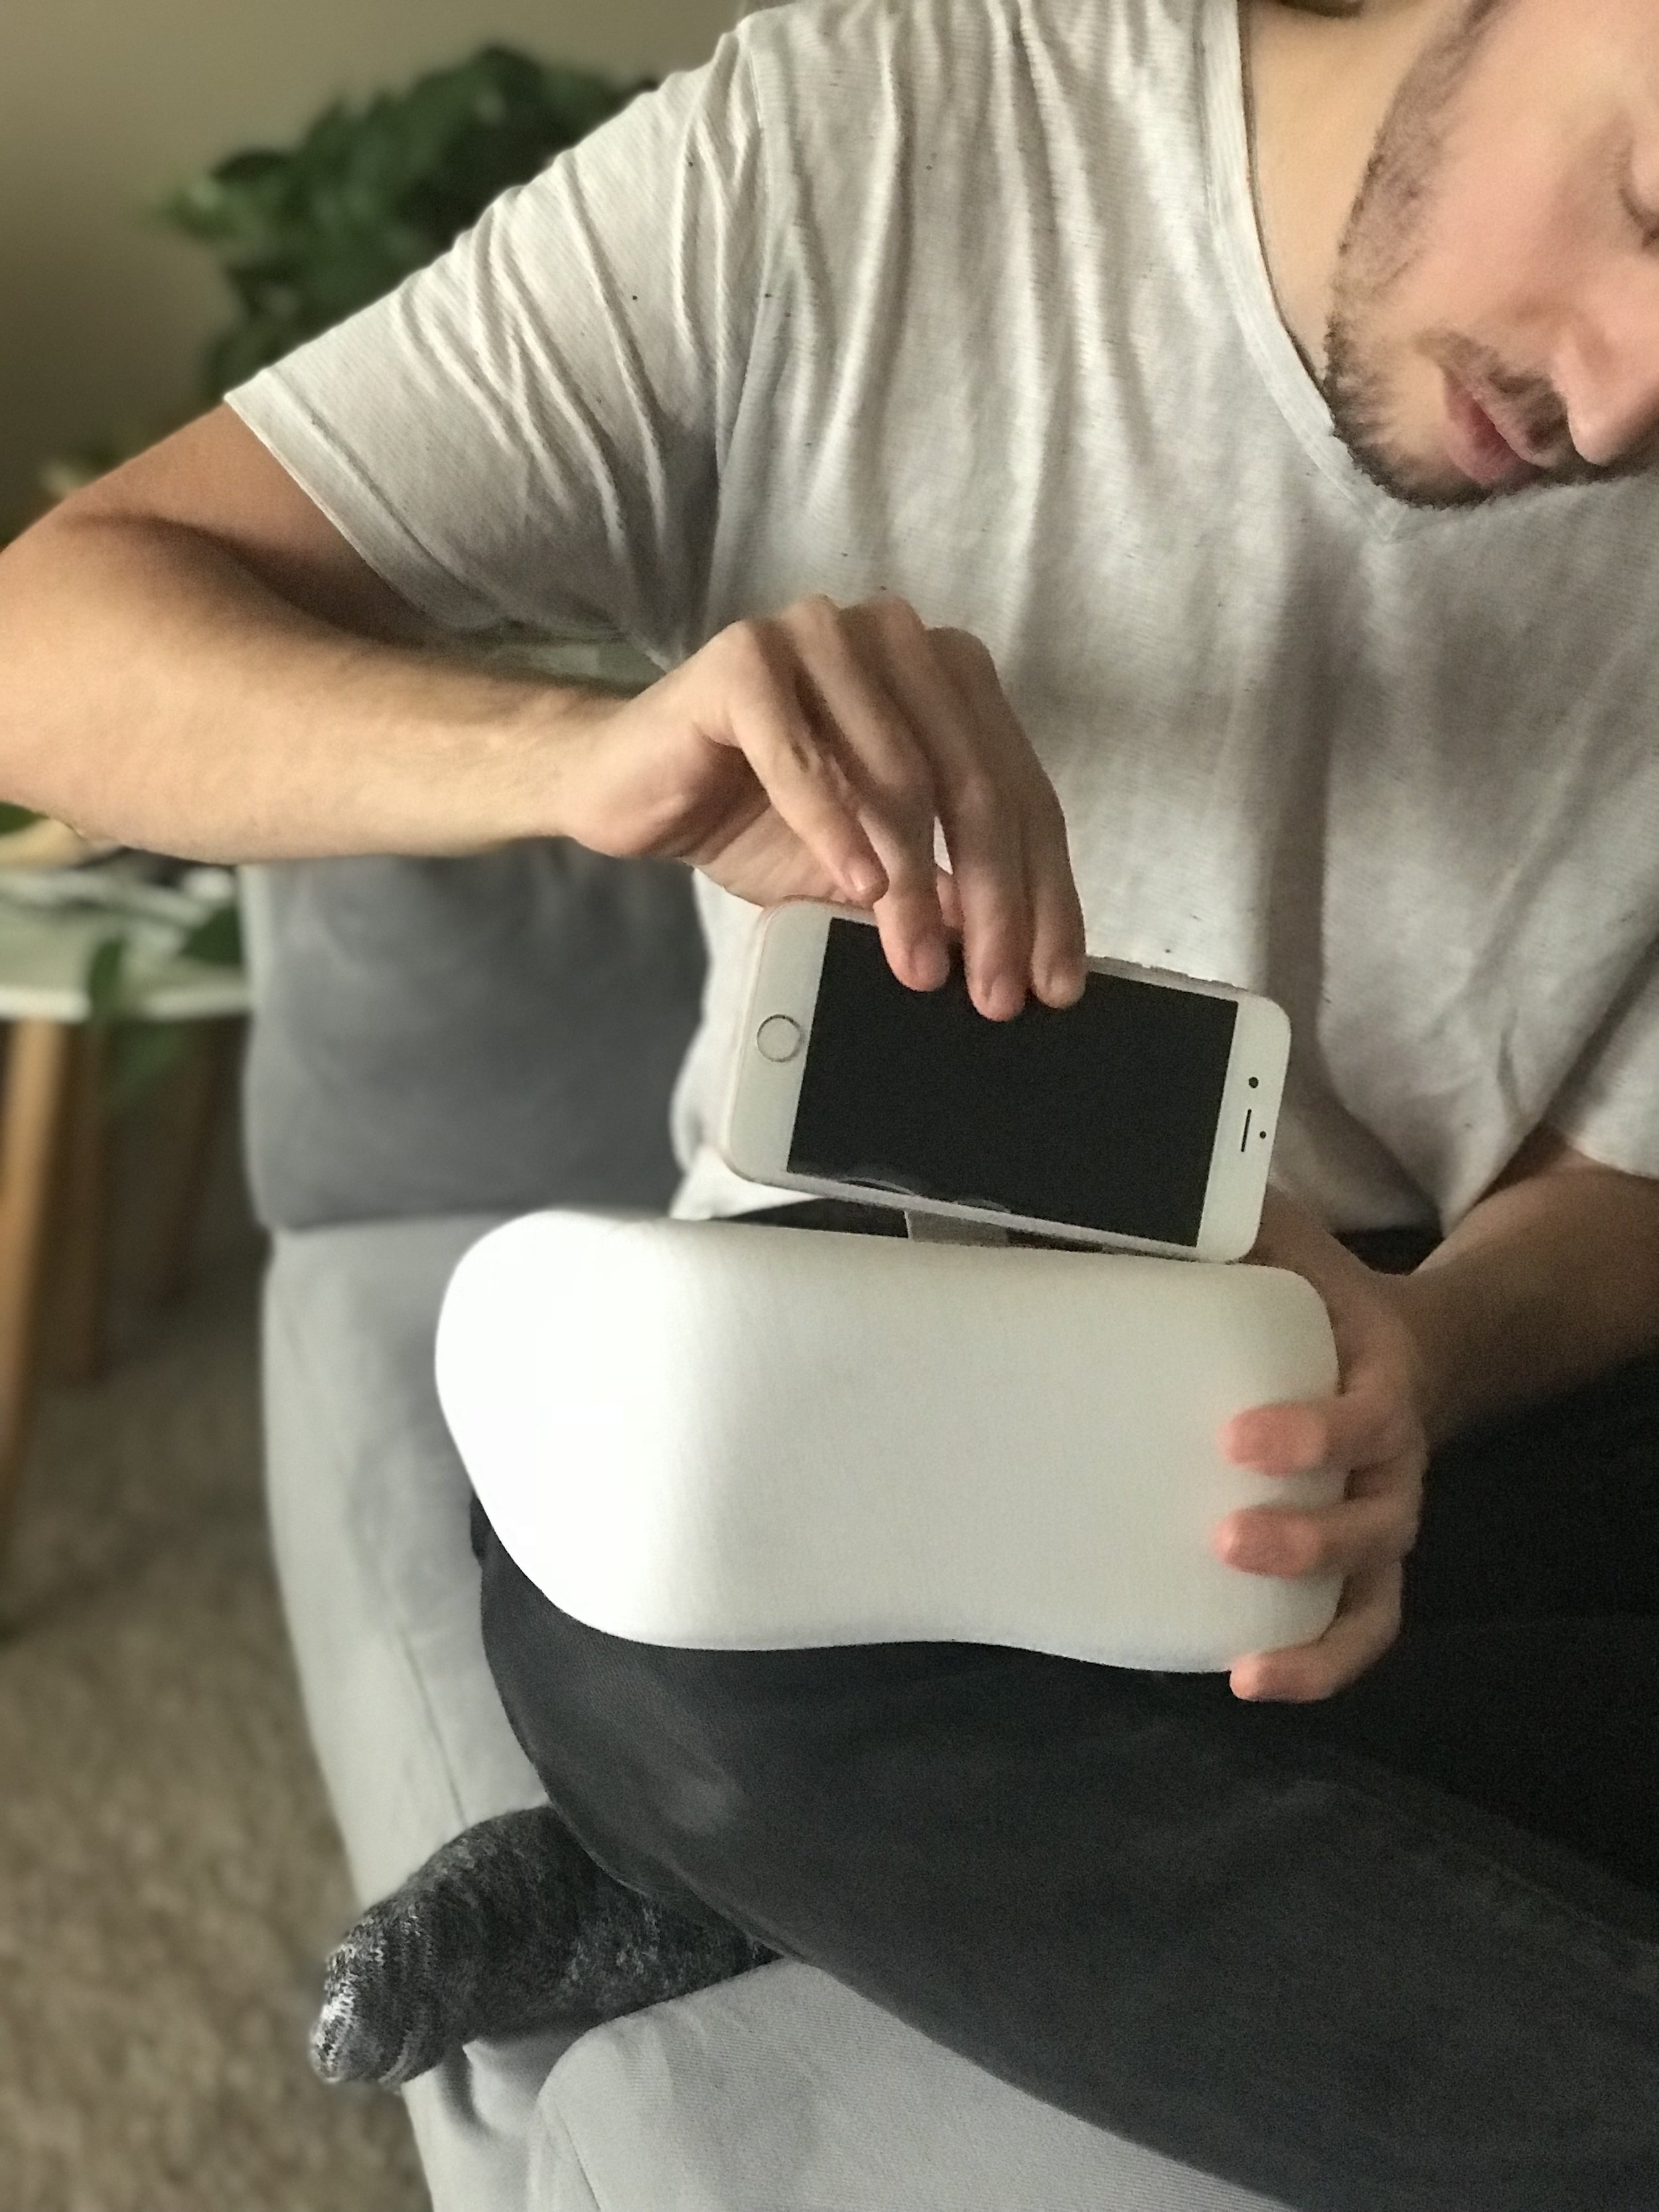
Hands free vs. Hand held

At first I was focused on designs that had to do with the user holding the device or having it placed on the table. After creating some quick and crude mock ups to understand how it works I realized that holding a device could be flawed. If the device is hand held there is a risk of the user messing up the test photography by having shaky hands.

User Testing

I tested the difference in photography quality of somebody holding the device themselves and the device being hands free. From this testing I found validation in the hands free method.
1. The photos came out better when the users used the device hands free.
2. It was more comfortable for users to have the device on their face. Users felt anxious holding it up to their face hoping they did not mess up the test.
3. I was aiming to make the experience feel relaxing and minimal effort. The hands free method achieved that experience.
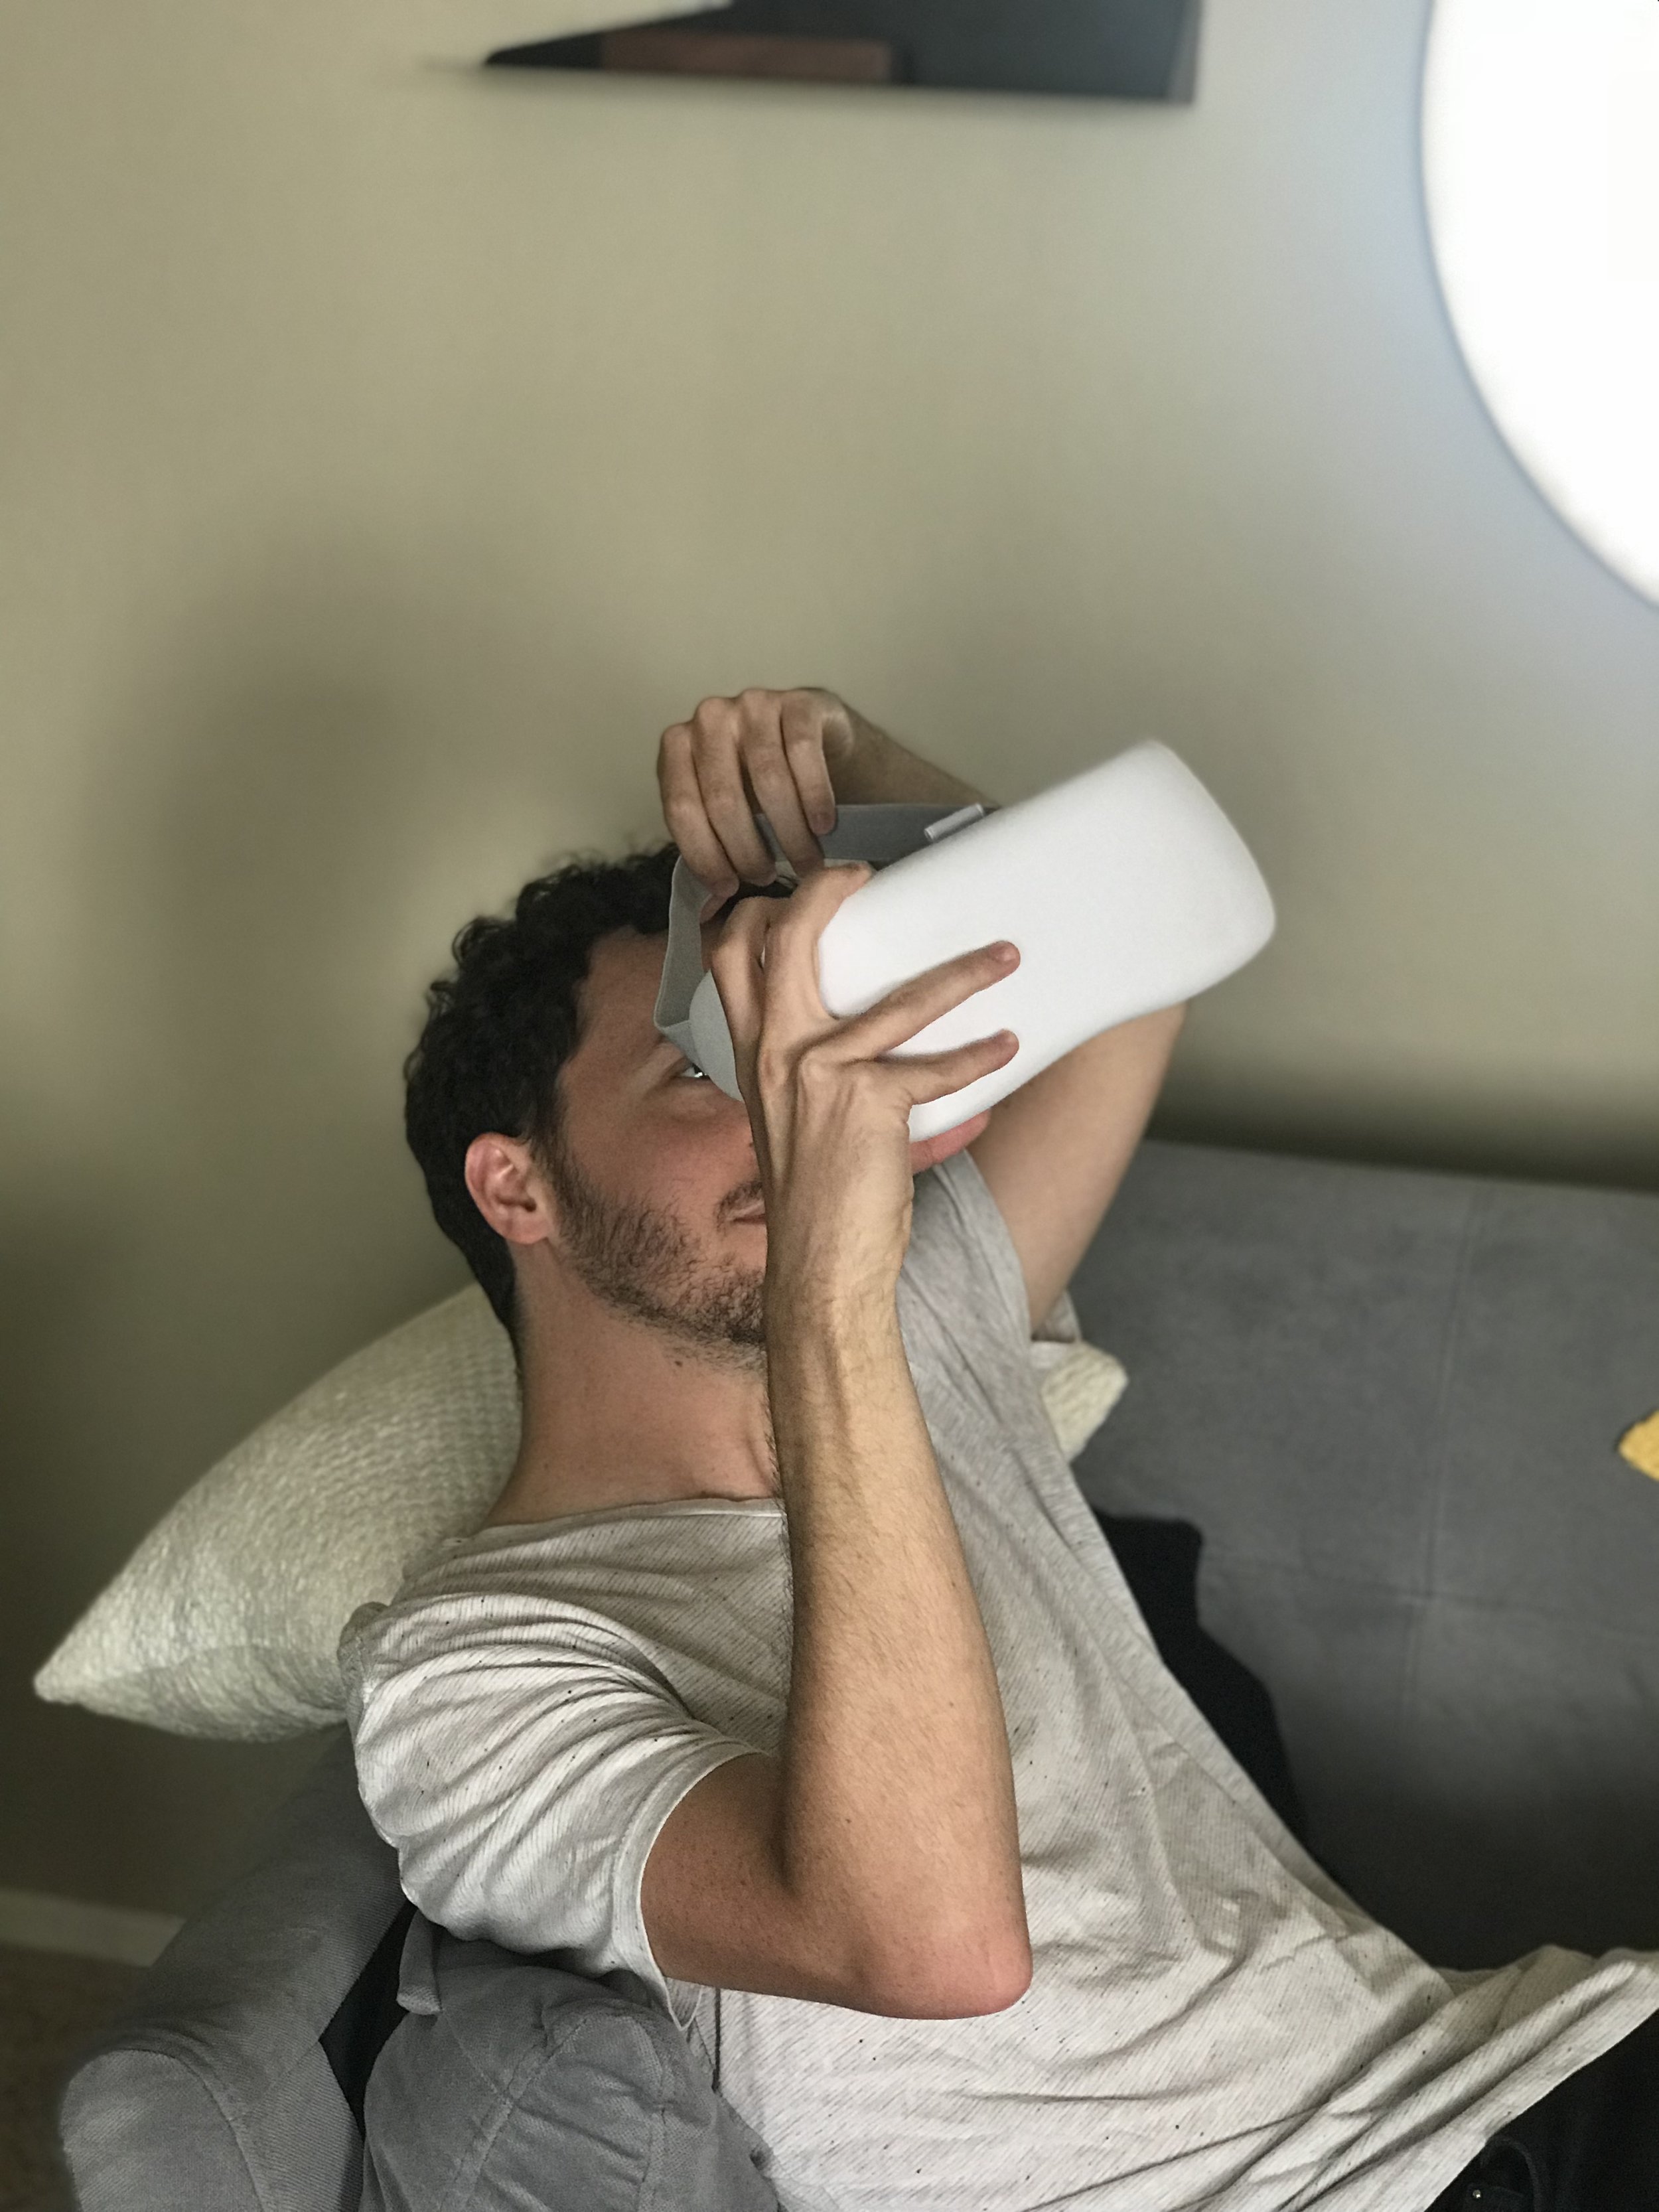
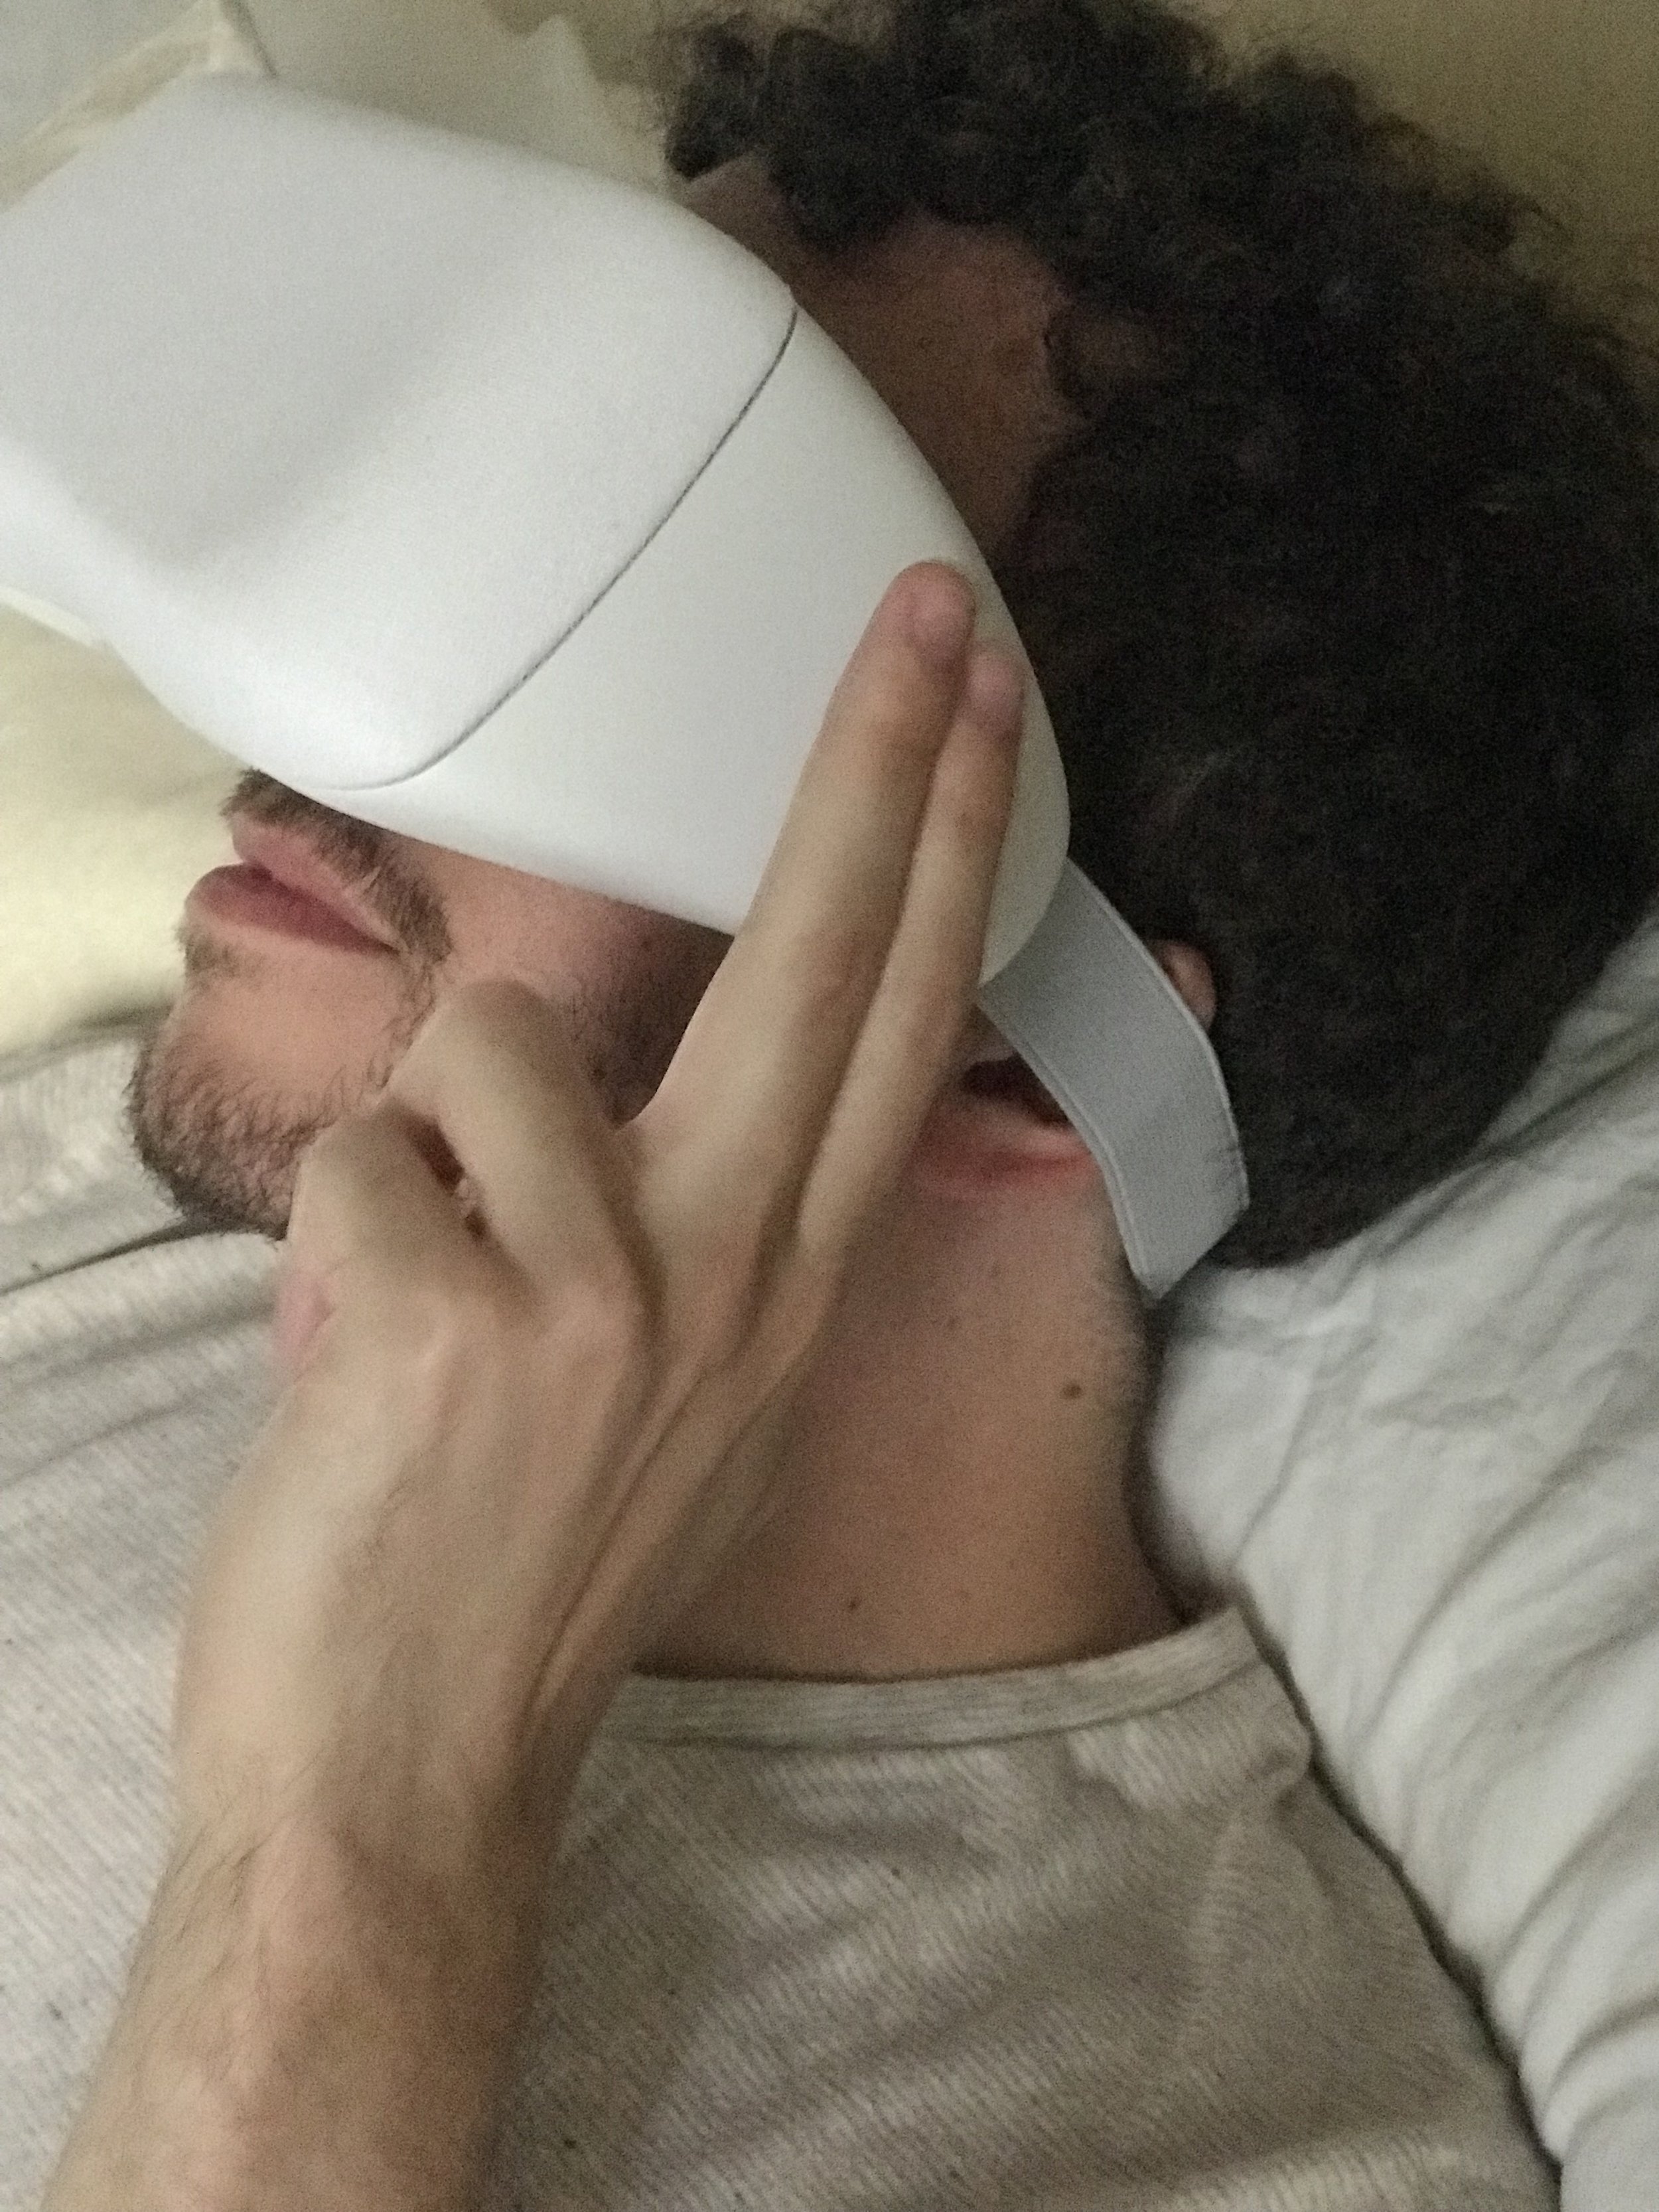
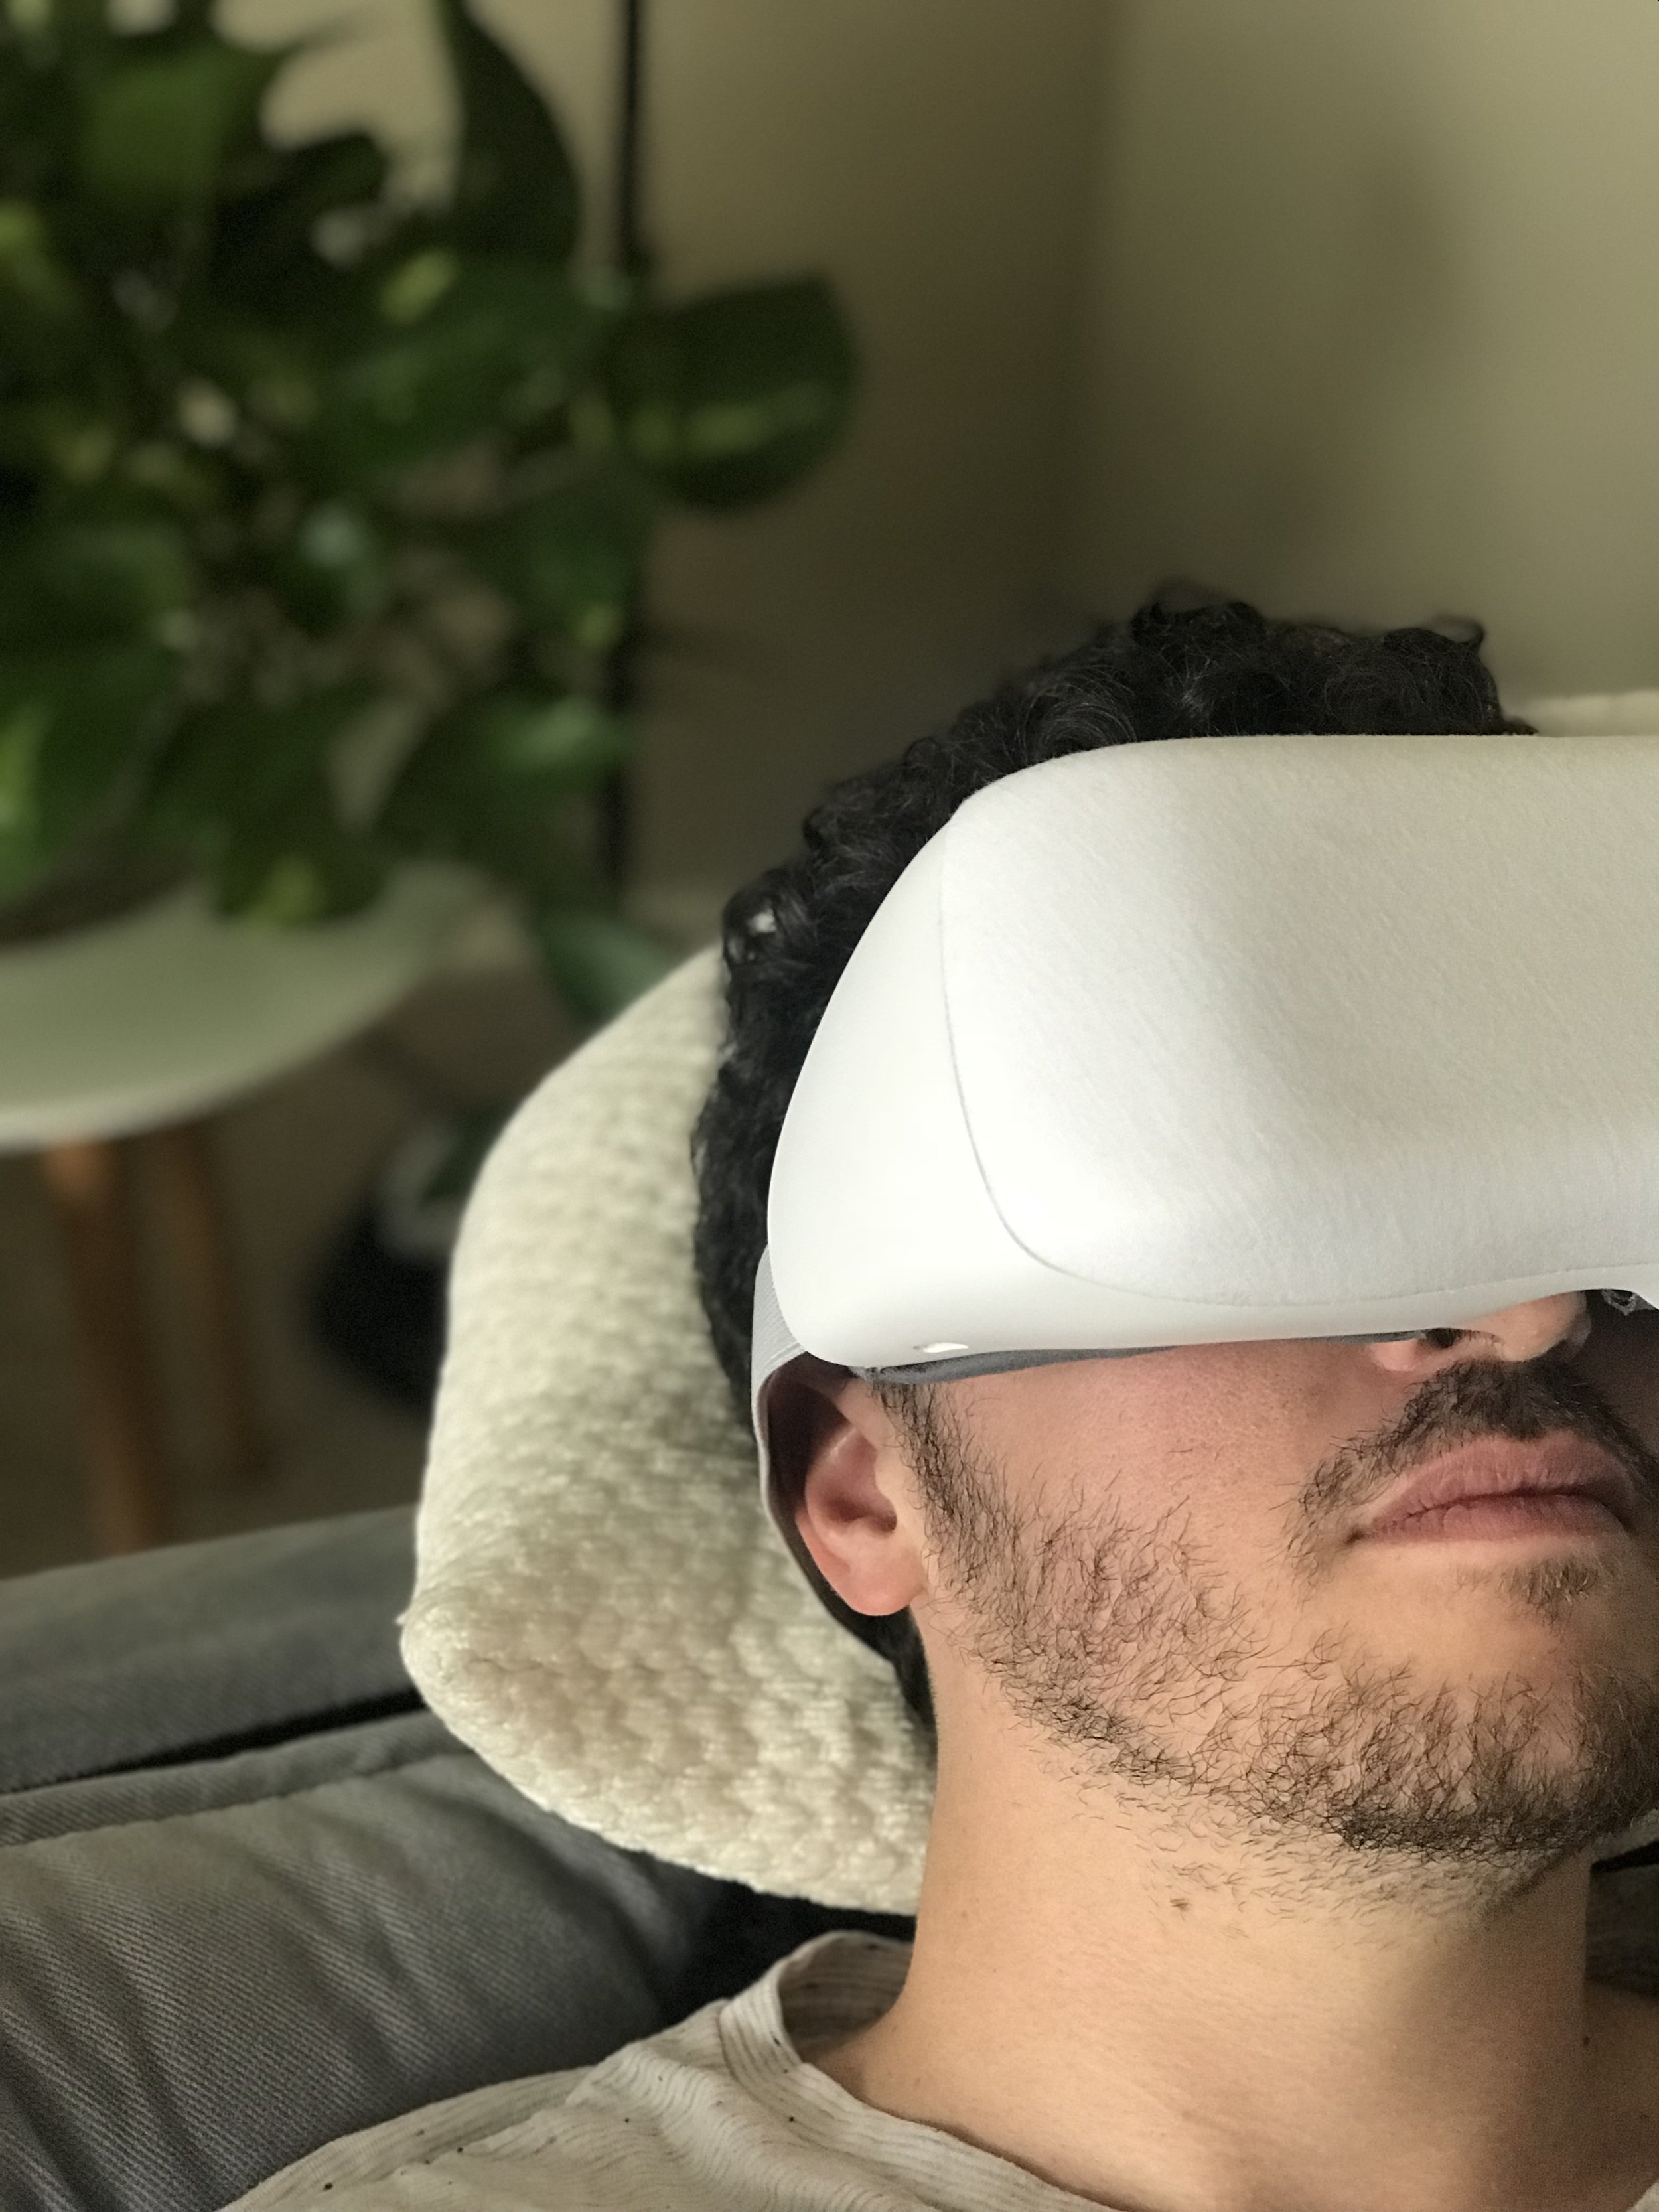
Face Masks are In

As a result of my testing I realized that I needed to make a device that is hands free and so I started focusing on a wearable mask device that felt comforting and relaxing. These are important characteristics since the user will have it in their home.

Wearable Retina Testing Device


More refinement led to my final design direction, a wearable retina testing device, also known as a Fundus Camera. It utilizes a smartphone by sliding it in and using its camera with an assisted lens to take a picture of the back of your eye.
Making It

To achieve precision I used the mill to do the phone slot, the eye slots, the charging slot, the face curve, and certain angles that can only be achieved on an angle plate.

This model required many intricate details because the phone must go inside it.
Behavior

1. Launch the app on phone and slide the phone into device. The device turns on when the phone is inside. A dim light on the front will indicate that the device is on. The light will be red if needs to be charged.
2.Put the device up to your face. Sensors inside the device will detect your face. The device is voice activated and will inform you on every step of the test.
3. To raise the volume tap on the left side and to lower the volume tap on the right side.
4. Once the test is done take off the device and refer to the app to see the photos taken and then send them to your doctor.